ComputeCanada OpenStack Cloud setup
We have chosen to host the main DivSeek Canada portal on the ComputeCanada Cloud. To do so for your portal, first request an allocation which based on the platform requirements listed on the parent page. The following steps indicate how to prepare your allocation for your own portal.
Create the Cloud Instance
This guide will walk you through how to create an instance with the following:
- a persistent p4-6gb (4 core, 6 GB RAM)
- at least 20GB hard-drive space to store the docker image/container
- open all TCP/IP ports exposed by the various docker instances
- a Linux operating system
- connected to your pre-existing network
- a keypair in place to access the instance remotely.
- Login to your cloud portal and access the instance dashboard by clicking on instances in the side menu.
- At the top of the instance listing, click “Launch Instance” to create a new instance for your portal.
Fill out the name and description and choose an availability zone indicating persistent storage.

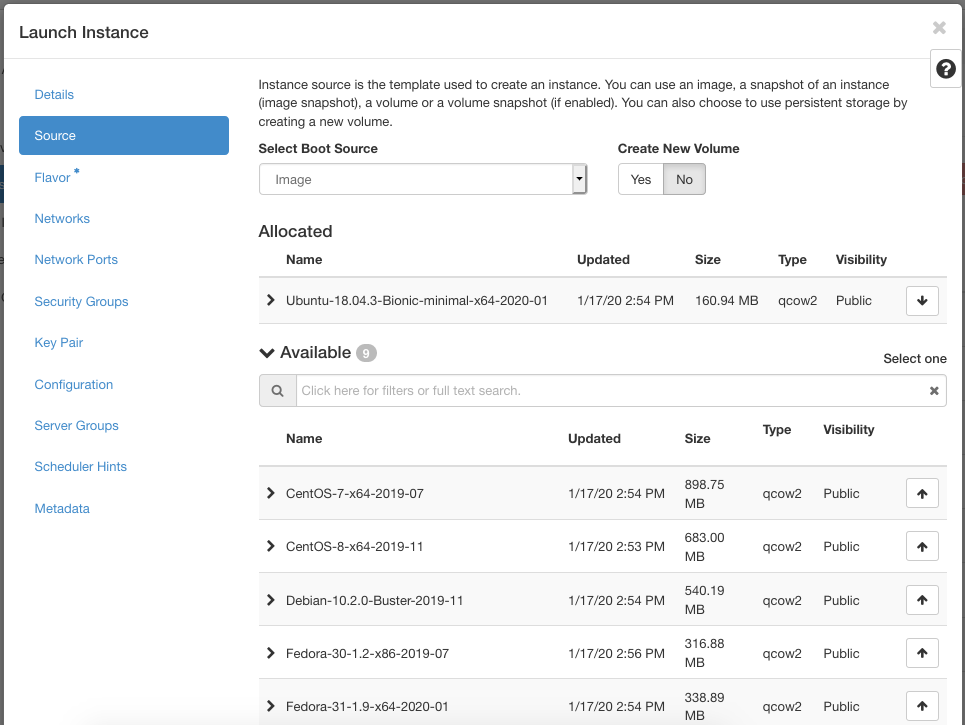
Select a source image to provision your instance. This should be a linux operating system (i.e. Ubuntu, Debian, Redhat, Centos).
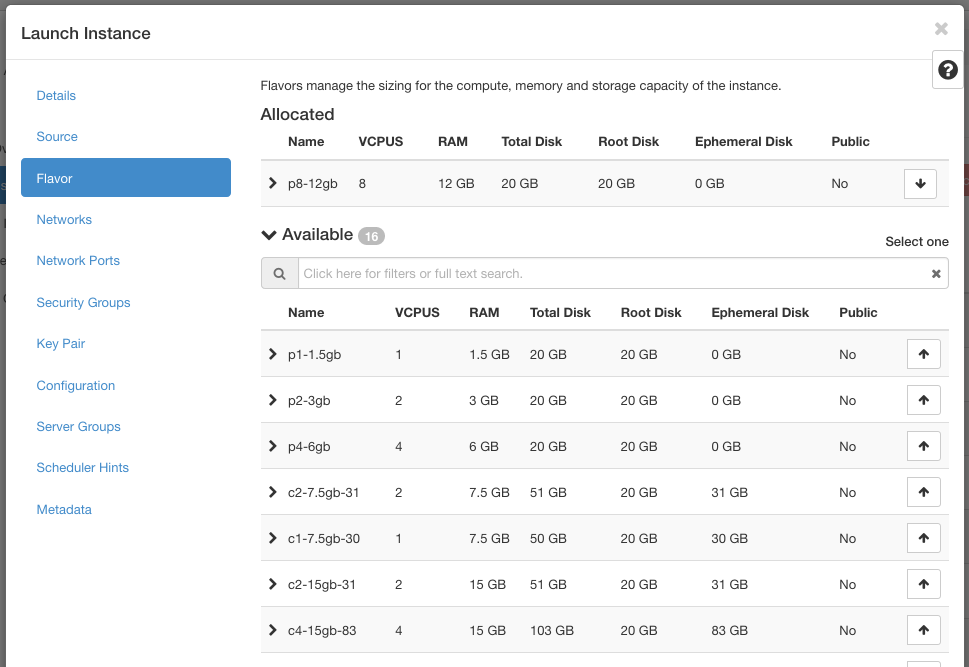
The flavour indicates the machine stats your instance will have. Choose at least persistent p4-6gb (4 core, 6 GB RAM with 20GB storage space) or higher.
- For networks, select an already set-up network. Networks can be set-up ahead of time by clicking on the networks tab on the side menu. MORE DETAILS NEEDED. Since you have chosen a network, you do not need to choose network ports.
- Choose security groups which expose the ports required by the docker images you are launching. MORE DETAILS NEEDED.
Create a keypair specific to this instance to provide SSH command-line access to the instance and make sure it is allocated.
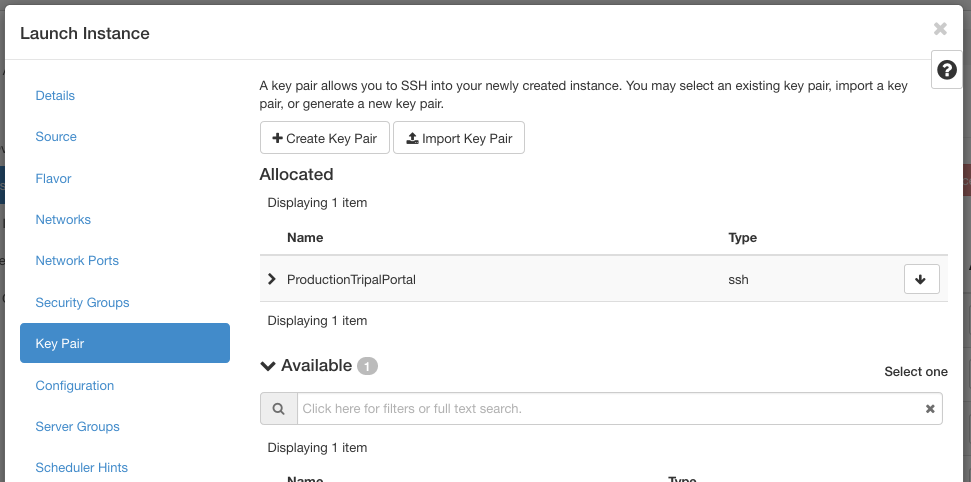
It is very important you keep the private key generated as it will be needed for command-line administrative access to your instance. Login using SSH to your root allocation and navigate into the .ssh directory. Then copy the private key into a file named after your instance with no spaces and the .pem ending. This can be done using the following command (filling in your private key and instance name as indicated.):
 echo "<your private key" > [instance name].pem
 chmod 400 [instance name].pem
Finally, click “Launch Instance”. This will launch the scheduler to create the instance and then build it. When it is complete your instance should be added to the list.
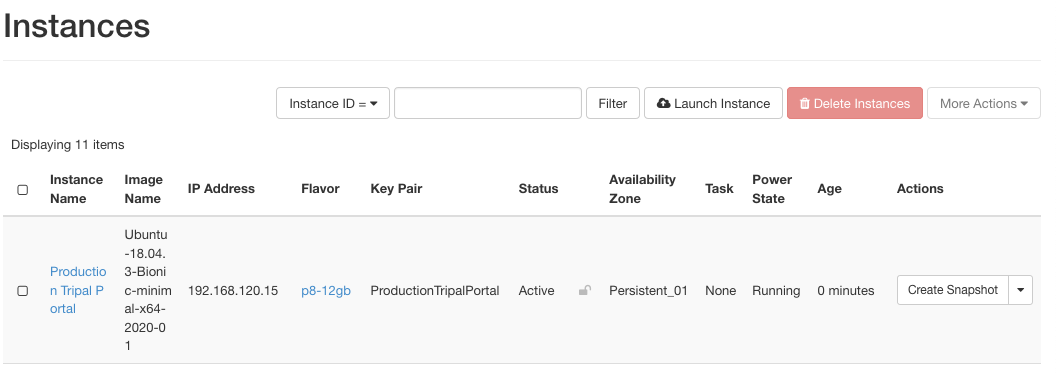
- To connect to your instance, first SSH into your allocation. Then use your key you created and floating IP address assigned above. For example,
ssh -i .ssh/tripal-production-portal.pem ubuntu@192.168.120.15
Now, you can proceed to install Docker and Docker Compose.